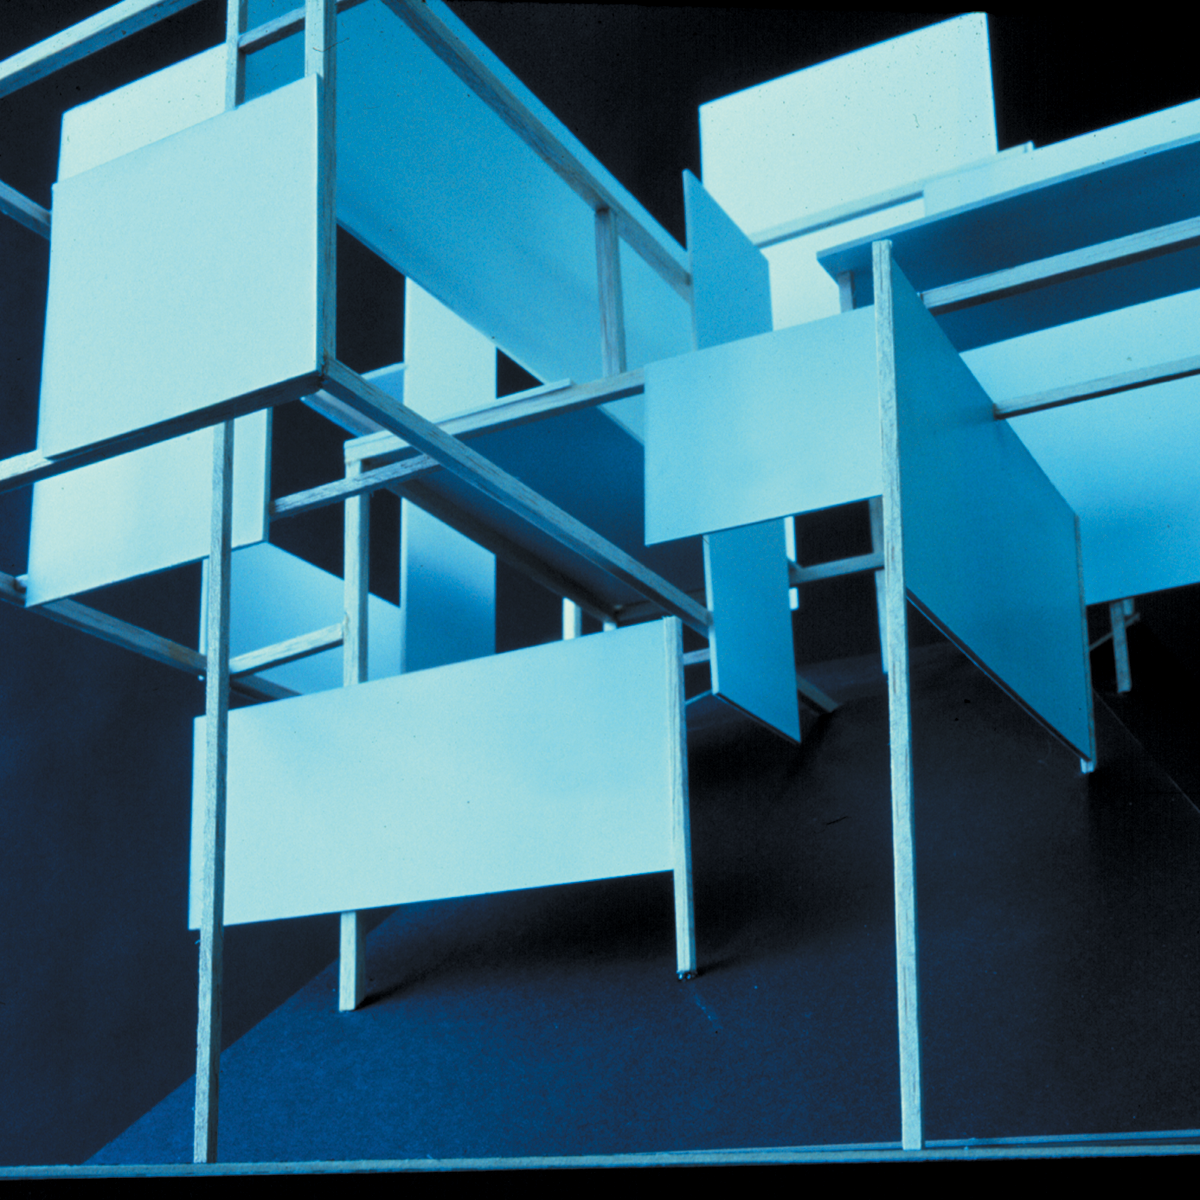
“The exercises in convexity and concavity are based on organic forms. They present the opportunity to explore the properties of a single, specific form. Unlike the dramatic quality of the construction exercise, the convexity and concavity exercises deal with subtle gesture.”

Here, we explore in depth the subtle and involved relationships between the axes of large forms, the expanding planes of their surfaces, and the sensitive lines of the final configuration. This experience often leads to beautiful sculptural forms and can help you achieve high sensitivity and control of organic volumes. It is an excellent introduction to the problems faced in designing many common forms we live with: the telephone, the commode, and the automobile.
Convexity is the expression of positive volume or form pushing into negative space. (Concavity is the expression of negative space pushing into positive volume or form.) The characteristics of convexity are weight and bulk. We study convexity and concavity separately, and as we learn about one, we also learn about the other. Our study of the relationship between the axis, the mass, and the outline explores how the mass creates surfaces and how the surfaces result in a silhouette. It is the opposite of defining volume the way you learned to do it in grade school.
Conventionally, we define shape from the outside by drawing the outline and filling in the space. This problem comes at it from the inside out. (Before you start, I suggest you acquire a copy of D’Arcy Thompson’s book Growth and Form.)
Begin by making some sketches of organic forms in clay. Then, quickly, with the flat side of a small piece of soft charcoal, make several large configuration sketches (one to a news sheet). Do not illustrate your three-dimensional sketches, but exaggerate or dramatize the qualities in them that you respond to. Use an exciting combination of curves. Stay ten feet away from your sketch and do this from four different positions. The shapes (configuration) should not be too dramatic, or the lines may become stylized and run away with the show.
“Always imagine these things 100 times as large, and you will see that the proportions make a huge difference.”
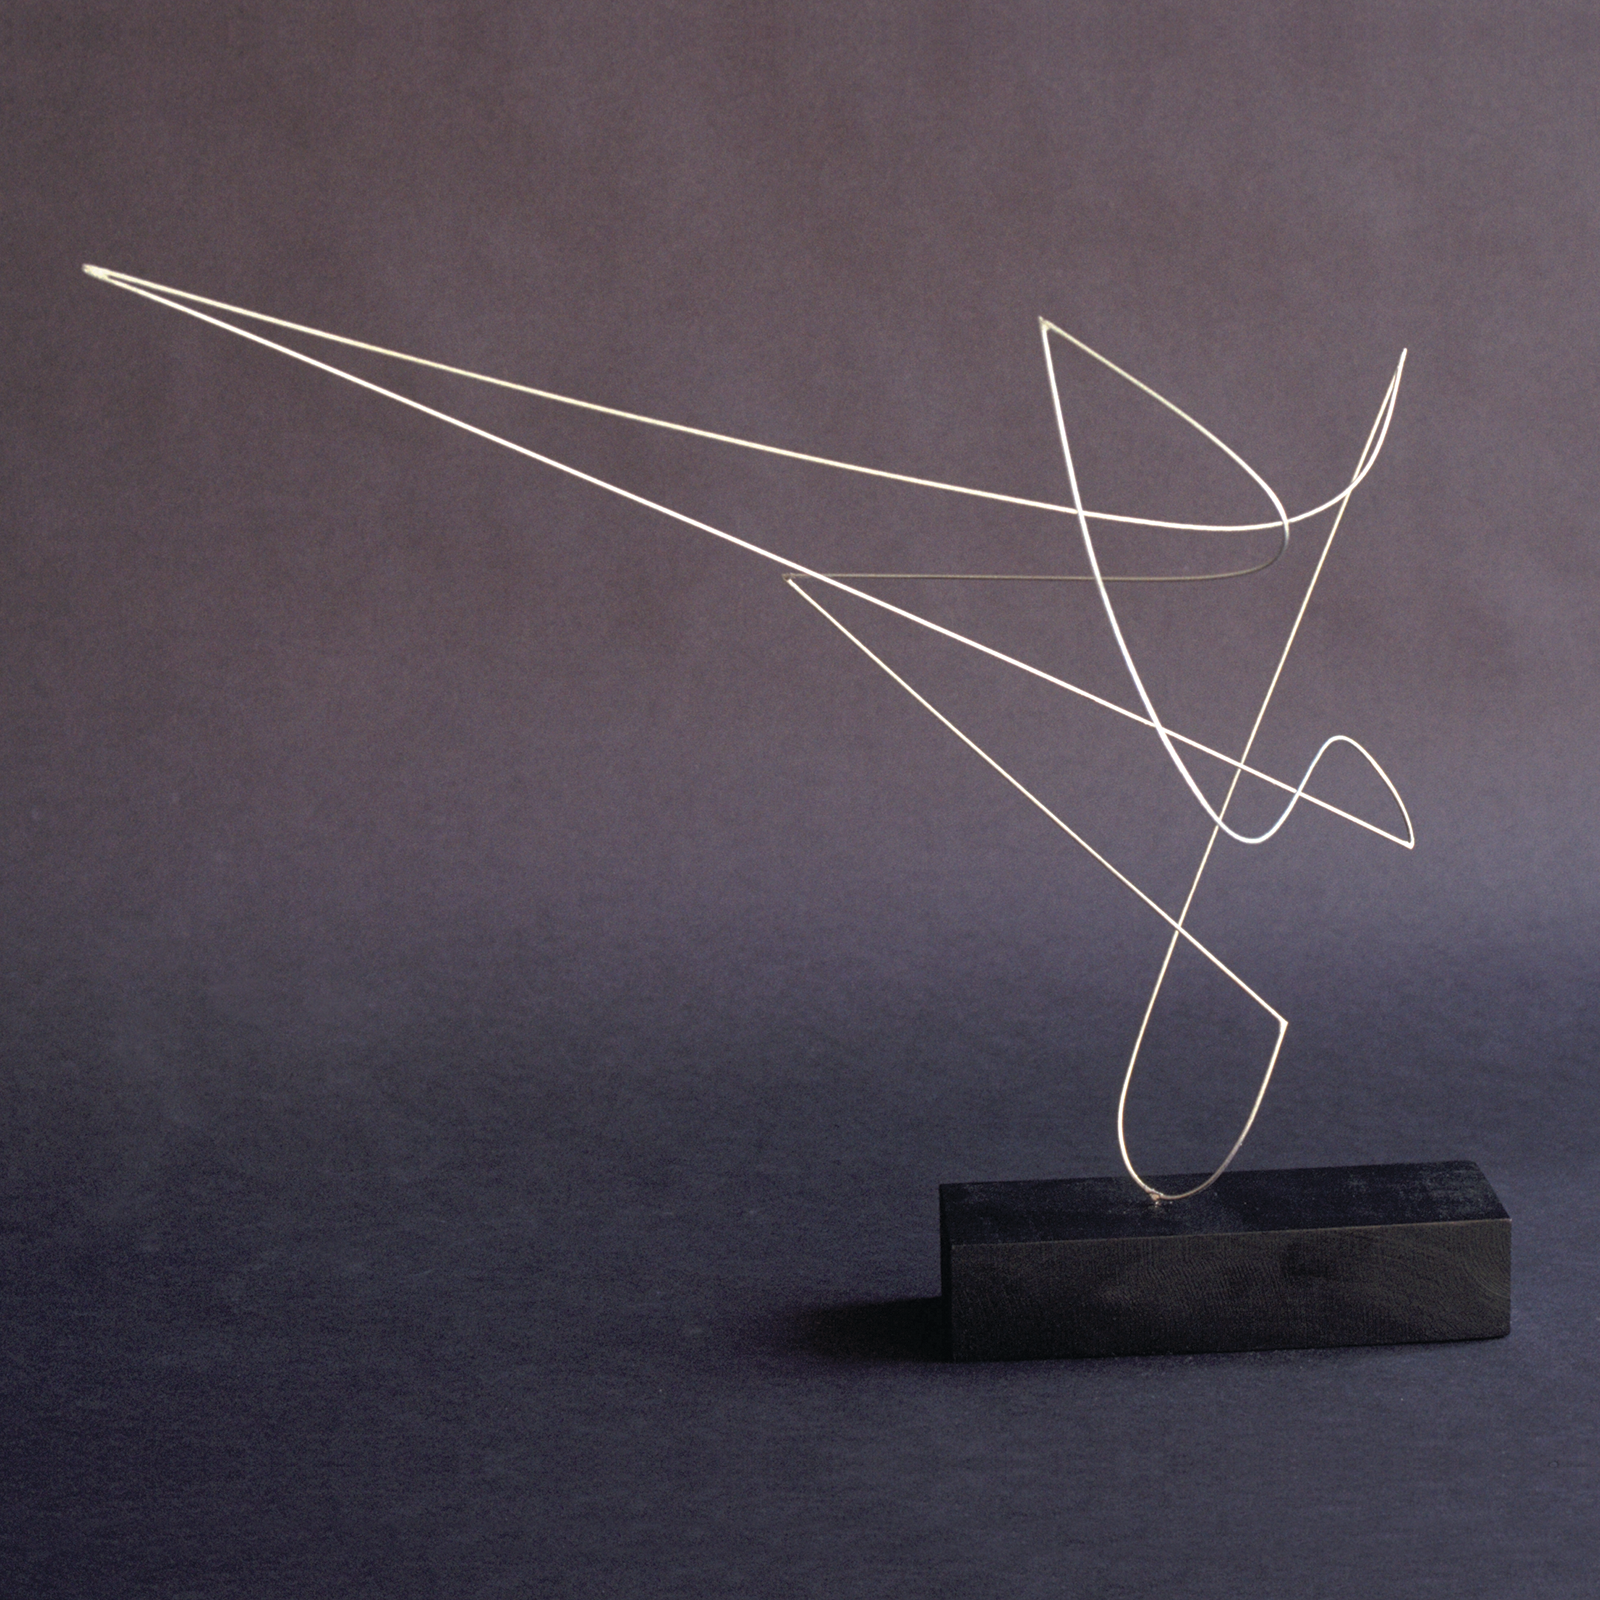
Next, make some axis sketches using wires attached to planes and play with configurations on the theme. Your axis sketches should be forceful, exciting, abstract, and asymmetrically balanced from every position. It should be an interesting gesture.
Now, make two or more small clay space sketches reflecting your experience. Your sketches must have the quality of abstraction, which is true of any three-dimensional design. They should emphasize character and movement. Do not become too concerned with the outline. The outline changes with the evolution of the form, which pushes into space and expands at intervals.
The three-dimensional space sketches let you see the form in space and understand the relationships that space creates. They help you become aware of the negative space between the positive forms. Your form’s overall character and position in space determines the most critical tensional relationship. You can use these sketches to experiment by dramatizing overall or comparative proportions and grouping two or more volumes in opposition to other groups.
Develop Your Best Three-dimensional Sketch
Put your design together quickly and thoughtfully, stopping to look at it from a distance from time to time. Create a mass of two or three volumes using small clay blocks, grouping forms into abstract shapes. Be aware of the contrast of forms. You should strive to express complementary contrast in proportion and mass. Each form should improve the other, and the whole should be interesting three-dimensionally. Establish the dominant/subdominant relationship. Then, put subordinate relationships into place. (Remember that the dominant element is the most exciting shape; nine times out of ten, it is in the most prominent position.)
Work with the axes of the significant volumes. Gesture, the movement of the axis, should be exciting and apparent from every position. It is the core of the design. It keeps all other relationships (between plane, line, and space) in suspension, tension, and balance. Axes should be balanced from every point of view and three-dimensional in concept. You should be able to feel the back of the volume from the front, that is, the movement through the volume.
Remember that the eye is drawn around, over, and under in pure convexity. There is no hard-edged outline. No surfaces that meet at an angle. The negative space resisted by form should “flow” around the volume. Your eye should be able to trace how space always flows along the surface of protruding forms. Of course, there will be concavities, but keep them subtle, not deep.
You have three kinds of curves here: the curve of the axis, the curve of the planes going across the axis, and the curve of the configuration, and they should all relate. Do not make curves parallel or perpendicular to the axes. It is much more subtle if you keep them on a diagonal.
Hold back the development of the planes diagonal to the axis — that is, hold back expansion except in character. Feel the mass first, then work on the planes and lines. Visualize the movement of forms. Be aware of surface tension. Do everything by carving. Work slowly, or you will make everything too small. Keep rotating your work as you do it. Be careful not to spend so much time refining the shapes that you do not explore relationships.
“Things can get so big that the design outstrips the idea. There is a right size for every design — where it expresses the idea adequately and looks its best.”
For the final expression of the convexity problem, we work with a 50 lb. salt block. (Salt blocks are used on farms for livestock. They are about 12” x12” but not a true cube. They have a slight taper and a hole at one end for standing on a stick in the field.) Creating an organic form that does not retain the shape of the block adds to the challenge. However, the material lends something to the experience. It is voluptuous, similar to marble. Unlike plaster, which is too fast, the salt block forces you to work more slowly.
Work the salt block with files and sandpaper. Never chip away at it. The process should be slow and careful. This will allow you to look very closely and learn to recognize the slightest changes in the form. You should end up with a form that looks larger than the geometric form you started with.


